|
| |
|
Care and Feeding of
your Polly Pockets |
| |
|
Many visitors to Only Polly
Pocket would like to know how to
repair,
clean and generally
care for
their little treasures. We have certain methods that we use (we
have listed a few here and will add more) and we have received
suggestions from many visitors so we have compiled that information
here. If you have approaches that you use to keep Polly
comfortable and happy, please share them with us! If you have a
question that isn't answered here, please share that with us also!

We are particularly
interested in hearing from anyone who has learned to repair
non-operational light or music without damage to the sets |
| |
|
Repairs |
| |
-
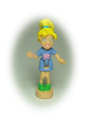
Polly won't stand up
-
When the connection at Polly's waist has worn and
she falls over when you try to stand her up, try fabric glue.
We use Aleene's Flexible Stretchable Fabric Glue which can be
purchased at a craft store in the aisle where you find supplies for
applying decor to T-shirts. Bend Polly in half at the waist,
apply a TINY amount to the shaft, then bend Polly back and forth a
few times to get the glue all around the shaft. Lie her on a
piece of paper until the glue is dry. The glue dries
transparent and flexible!
-
Sometimes, Polly's base has been damaged and she
stands crooked or not at all. Level the base with VERY fine
sandpaper (no rougher than 600 grit) and GENTLY smooth the base
until your figure will stand properly. You can also use this
method to smooth edges that cause Polly not to bend. Of
course, great care must be used to avoid the paint. We have cut a
tiny piece of the sandpaper and Super-Glued it to the end of a
plastic toothpick...tends to give more control.
-
A visitor to the site
offers another solution to "floppy" Pollys (Thank you!)
I've found a nice solution to my polly that was always
falling forward. Just take a sewing needle with a thin thread. Go
around the hinge on one side with the thread two or three times
(going through Polly's middle opening), then knot it and cut close
to the knot. If it's not enough to make her stand straight on her
own, do the same on the other side, it will also have her legs more
"centered". The thread is compressible enough to allow movement yet
will make enough pressure that she stands straight. It's reversible:
easy to take off the wire later with a sharp blade if you want
-
Polly's paint is damaged
-
This is tricky and you may even need to be a bit of
an artist! We have purchased a set of model airplane paints.
Using a flat piece of hard plastic and a plastic toothpick, mix a
color that matches the color to be repaired (how good is your eye?)
You will need to let the paint dry to be certain it is a match to
the color to be repaired. Using a single hair paintbrush
(available at art supply stores) dot just a bit on the unpainted
area on the shaft where your doll bends or on the unpainted bottom
of the base. (The BEST solution here is if you have a damaged
doll that you don't care about...use it to test the color then
compare to the doll to be repaired). Once you have matched the
color, use the single hair paintbrush and repair the damage,
smoothly applying only the minimum amount of paint necessary.
Repairing a paint-damaged face DOES take a bit of artistry and a
steady hand. This method is also worthy of mention for wear to
painted houses and sets also, for example the street edge of
Pollyville buildings.
-
Inkpads have dried up (thanks to a visitor for this tip! ) )
-
Stampin' School, Babysitting Stamper, etc. may just
need a couple of drops of water on the inkpads to soften them and
renew the ink. However, should you need to re-ink them, be
sure to buy child-safe, washable ink. You can get different
colors at a craft store (where fancy rubber stamps are sold) or,
there are stores that specialize in rubber stamps and carry inks.
Be sure to apply a drop at a time until the stamp pad is
usable...you don't want it sopping or it will be too messy to make a
nice impression with the stampers. You can also make your own:
Mix 1 tsp. alcohol, 5 Tbsp Glycerin and powdered clothes dye (but,
REMEMBER that the clothes dye is probably not washable)
Mix dye with alcohol to the consistency
of thin cream. Add glycerin. Stir until well blended. This makes
enough to replenish a stamp pad several times. Drip ink on the stamp
pad until just moist.
-
Hint from a visitor:
When you are going to the store to buy ink, dampen your finger,
press it on the ink pad then on a piece of paper. You will
have a sample of the color you want to match!
-
Just got a fun tip
from a visitor! "I just won a school playset on ebay &
it was in very good condition. I used a drop of food coloring to
reink and scented the colors with peppermint (on the green) and
almond (on the red). It turned out beautiful smells great too.<br />
Going to gift it to my girl for valentines day :)"
Love the idea of putting a scent in the pads!
-
Battery operation not working
(thanks to a visitor for this tip! ) )
-
I am Angelica. I've bought some Polly sets that use
batteries. When they have not worked, my husband has sprayed the
cell area with WD40. He says it rids the toy of humidity and any
acid that is left on the coils from bleeding batteries. All my
lighted PP's are in the best working order.
Thank you so much, Angelica!
-
Turntables won't spin freely
(thanks to a visitor for this tip!)
-
When the turntable (spinning footplate, e.g. in the
foyer in 1994 Magical Mansion) won't turn freely, dust a tiny amount
of talc on it and then blow it gently into the works. Gently
work it a bit and then it should spin just fine.
-
What we have found works better is to spray some
WD-40 in the open slit around the dance floor and around the
base of the bush that turns it. Then wiggle, wiggle,
wiggle...LOL, it should come loose for you.
-
Battery connections rusty or not connecting
(possibly why lights won't work?) (more thanks to a visitor for this tip!)
-
Use some very fine sandpaper or an emery board to
gently rub the battery connectors
-
We use a product called Permatex battery cleaner
(available on Amazon or auto parts store). Spray it on the
battery connections, wait 5 minutes or so, then clean it away
with a damp cloth and let dry. Before I wipe it away, I
use a brush to help loosen the corrosion.
-
Creaking hinges
|
| |
|
Cleaning |
| |
-
The flocked figures are soiled
-
Soak your flocked figures in a ramekin with
bleach diluted by half with water for a couple of hours. I
have found that it removes the soil but doesn't harm the color.
-
Visitor Tip: Use your own shampoo -
apply it, then let it sit for about 20 minutes. Rinse under running
water thoroughly. Repeat if necessary. I had some really grody ones
that came almost clean by using this method :)
Thank you!
-
You purchased a group of sets and they are filthy

-
IF they do not have stickers (wallpaper, rugs,
pictures, etc.), music, batteries or other features that can be
damaged by water, we have put them in a short cycle in the
dishwasher being ABSOLUTELY certain that there is no heat. For
sets that cannot be washed in water, we use a piece of terrycloth
with alcohol on the outside of the set. For those tiny areas
that are hard to reach, we use alcohol on a Q-Tip. Depending
on how stuck the dirt is, compressed air is also a good way to get
into those tiny places. One visitor uses a toothpick with a
bit of cotton on the end.
-
Rubber stamps that are covered in
ink:
Bluebird had the foresight to use washable ink so we just wash these
in plain water. If they are especially bad, we soak them in a
bowl of lukewarm water and a mild, non-allergenic dish soap, then
rinse thoroughly in lukewarm water.
-
Ink from the stamps pads has gotten all over the
inside of the set: we use an alcohol-soaked Q-Tip to clean all
around, then a clean one to sop up the ink-stained alcohol.
You may need to repeat the process until all the ink has been
cleaned off. We haven't found a method for getting the ink off
stickers that are in the set, for example, wallpaper!
-
FROM OUR BULLETIN BOARD: I get a lot of
my sets from local car boot sales ( swap meets ) due to this most of
the time they are very dirty, I find using a fine painting brush
with soapy water cleans them very well, try to place them onto paper
towels to dry, its does take some time but worth it in the end. Dawn
-
Another Visitor Tip!: I've been
cleaning quite a few mucky Polly sets of late, and have found the
best tools are a cup of water with washing up liquid added, a large
supply of cotton wool buds (Q-Tips) and also a toothbrush. The
latter works well where there is a textured surface, eg roof or
floor - gets in all the little nooks and crannies!
Thank you!!
-
A tip of the hat to
another Visitor tip: I have found that baby
wipes work really well for cleaning almost anything. They are very
gentle and the liquid evaporates quickly eliminating drying time and
rubbing things dry. If the space is small, you can tear off a
piece and wrap it around a toothpick and get into almost any corner.
mp
-
Here are some more great
cleaning tips from a visitor...THANK YOU!!
I have found that using a tiny toothbrush...one of those your
dentist gives you for in between your teeth...works the best for
cleaning Polly's homes. To remove sticky labels and things
just use warm water and rub gently with a q-tip. I went to a
car-boot sale and brought some Pollys in a bag and they were quite
gritty so I brought them home and tried to clean them. The
dirt wouldn't come off so I used coke... I put my Pollys in a bottle
with coke and shook it, the tiny air bubbles break off the dirt
without damaging Polly Pocket, bicarbonate of soda and antacids dropped in
coke will make it fizz up more if the Pollys are really dirty.
-
Another visitor figured
this one out: To clean alkaline based battery
acid (duracell, energizer, etc, the AAs, AAAs, etc.) I used lemon
juice on cotton swabs/q-tips and I wore dishwashing gloves to keep
my hands safe. Take out the old batteries and dispose of them, and
then if you can scrape any of the acid off easily, like when there
are giant flakes, just scrape them off as well into the trash, and
don't touch it! Have your gloves on the whole time! Then, take a
q-tip with lemon juice on it and swab the acidy areas. I saturated
the q-tip quite well to get heavily acid soiled areas, and it took
it right off (with some fun fizzing sounds as well!). All of my
previously acid-leaked on Polly houses and compacts look practically
new now!
-
Polly needs a bath
-
You'll want to use great care bathing Polly.
Her paint is very fragile so NO rubbing. We have found that
the safest method is a Q-tip dipped in alcohol, then just let her
dry or use a dry Q-tip to dry her off, GENTLY. We have had
dolls that a previous owner has used with Play-Doh and it has
gotten into all the indentations. It takes great patience to
clean this. You will use a pin or needle and VERY carefully
scrape it away being extremely careful not to touch the paint.
When you have gotten as much off as possible with the needle, use an
alcohol-dipped Q-tip to clean away the rest. If someone has a
faster/better method to do this, we'd love to hear it.
-
Visitor Tip: I think letting the doll
soak for a few hours helped soften it, and it was pretty easy to get
off with a wooden toothpick. I wouldn't recommend a needle. The
toothpick was touchy enough. Thank
you! NOTE: We don't like to soak Polly Pocket, her paint is
very fragile...while we agree that a needle is very scary, our
wooden toothpick kept breaking!
-
There is a sticker on your set
-
Sometimes well-meaning people put price or name
labels on the sets. These are so hard to remove and scraping
them off WILL damage the plastic. Safe for the plastic, we use
a product called B'laster E-Z Take-Away! Sticker Remover. Put
a few drops on the label and gently rub it around to wet the entire
sticker. Let it sit for a few minutes until the label is
saturated then rub gently with your terrycloth. Stubborn
labels will require repeating the process.
-
A visitor has recommended a product called Goo Gone
and indicates that it is available at most "giant merchandise
stores". Suspect that would be Wal-Mart, Target, etc.
-
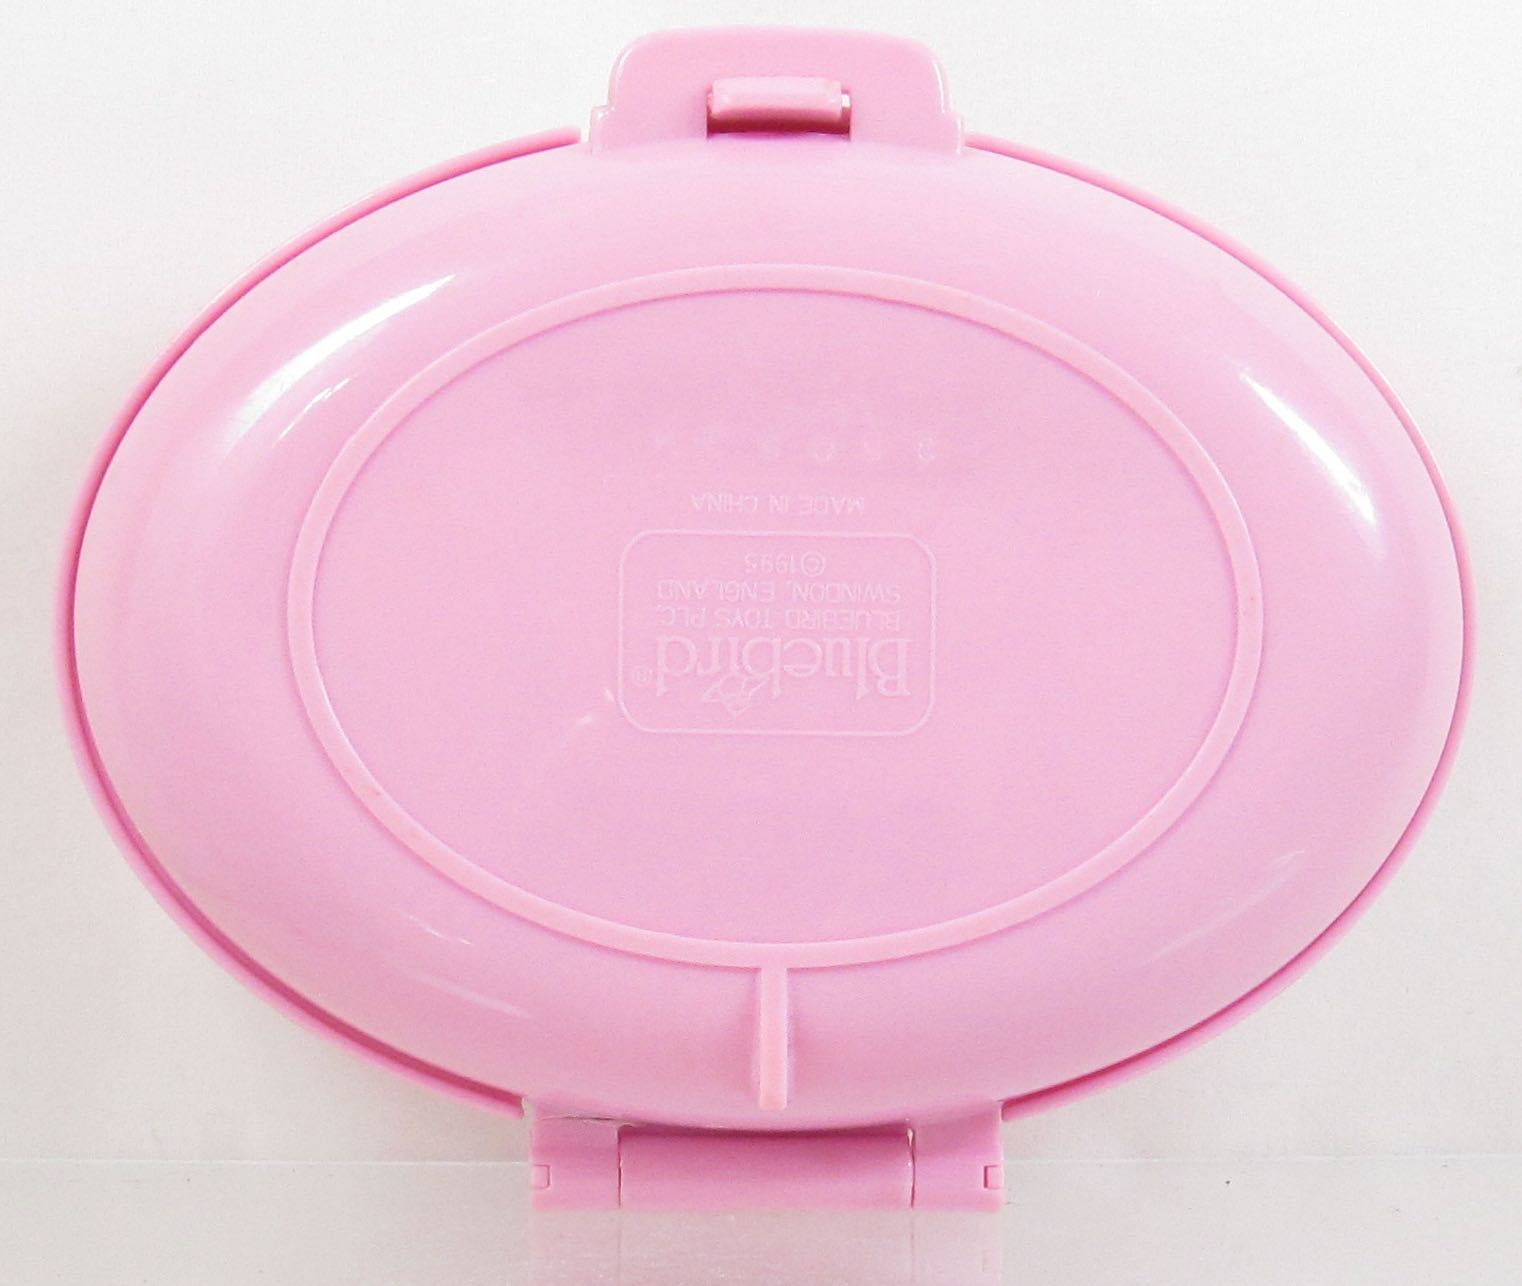
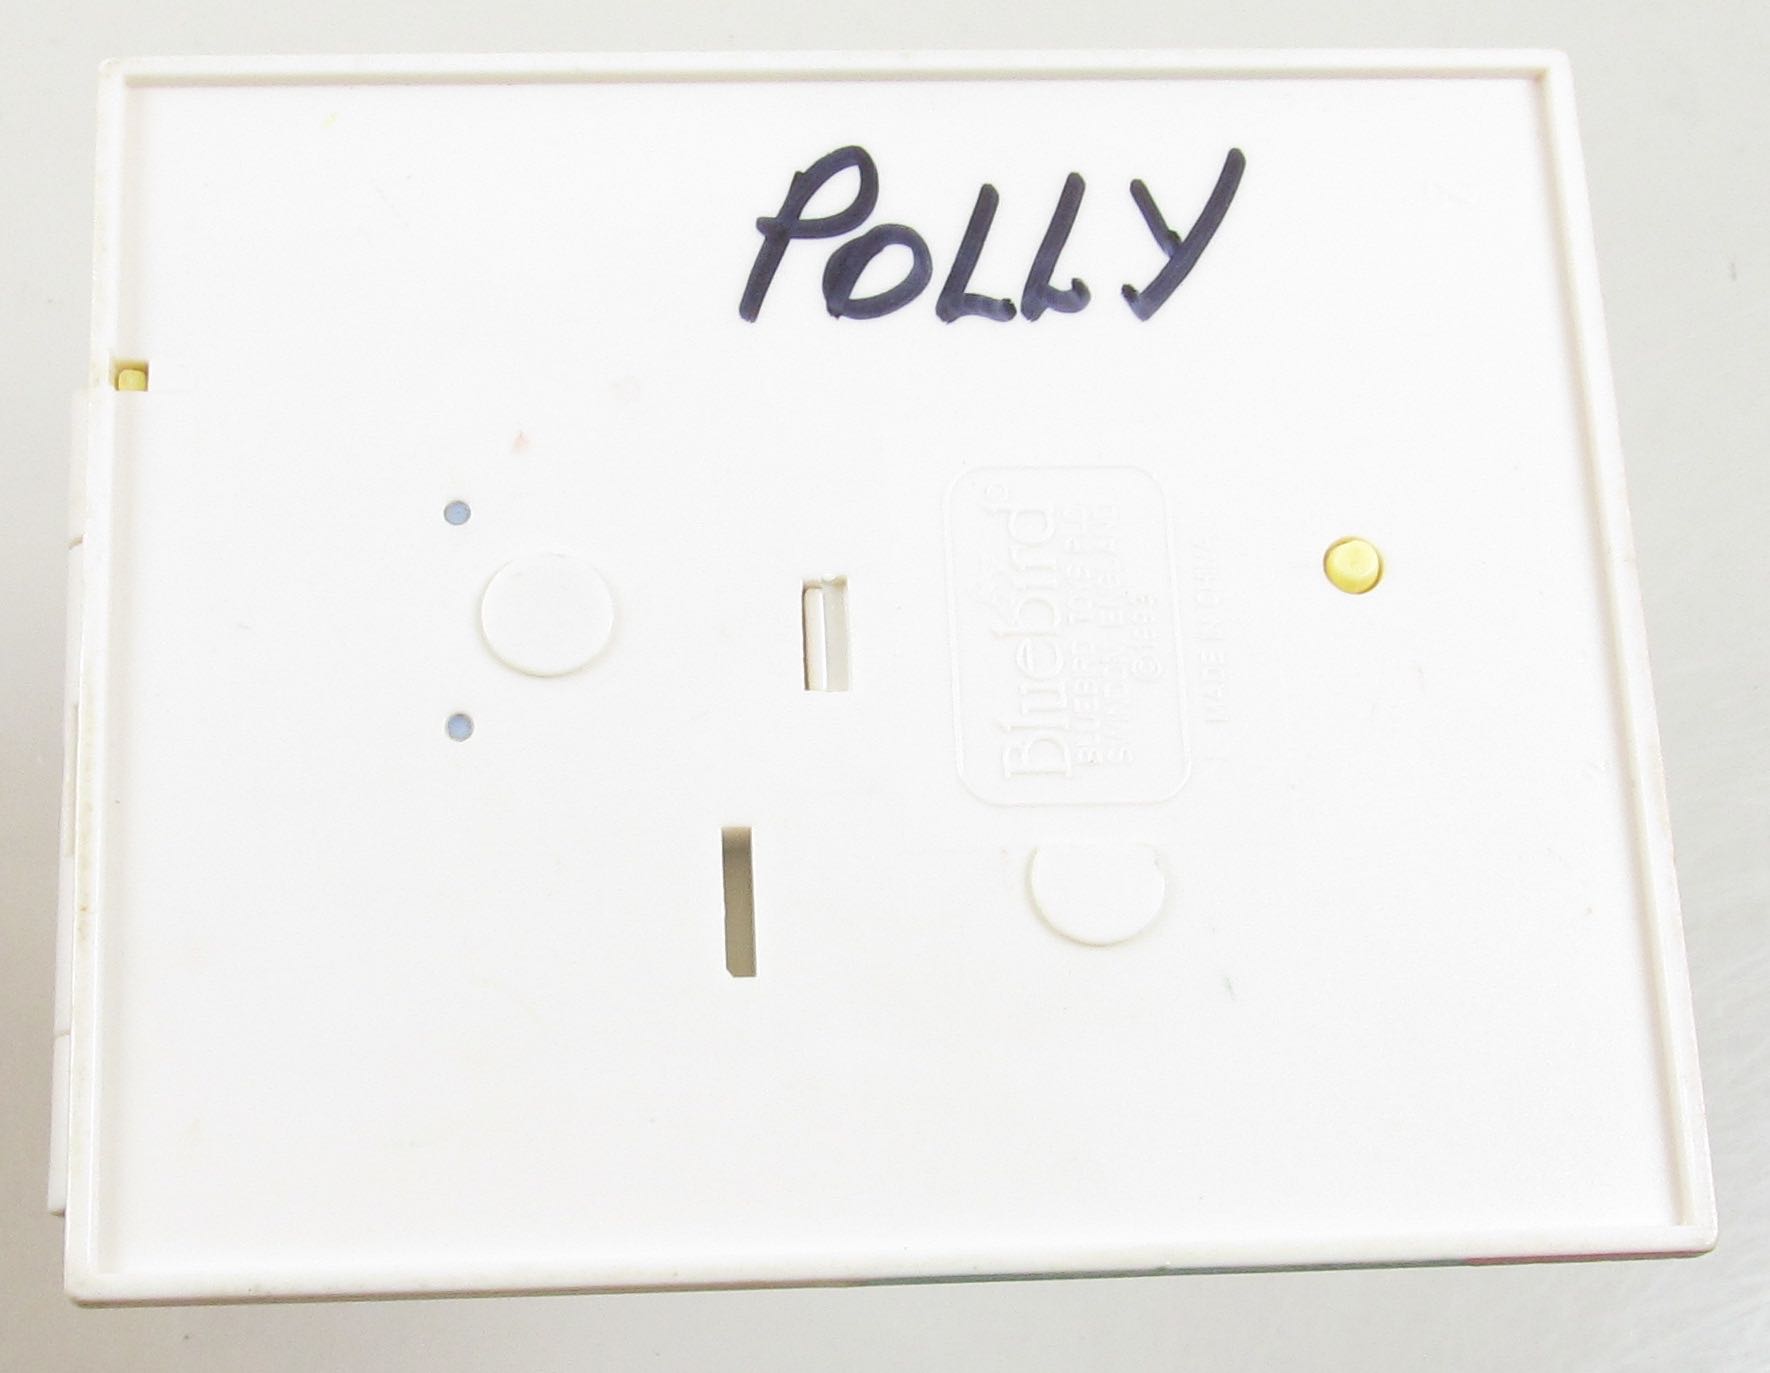
A child's name has been put on the bottom of a set
in black marker
A huge thanks to the Youtube contributors who posted
these methods:
-
Using a dry erase marker, the one you use on a
white board, trace over the writing. Using a soft cloth wipe
it off. You may need to do this a few times but it will come
off. My issue with this method is that it did seem to leave a
very slight shadow of the dry erase marker behind. I found
that black worked better than colored dry erase markers.

-
My favored method was using a product named AXE,
a men's fragrance spray. It is available at Amazon, I got
mine at Walgreen's Drugs for $4.99. Spray AXE of the
offending black marker, let sit 5 seconds and wipe away with a
soft cloth. Repeat as necessary.
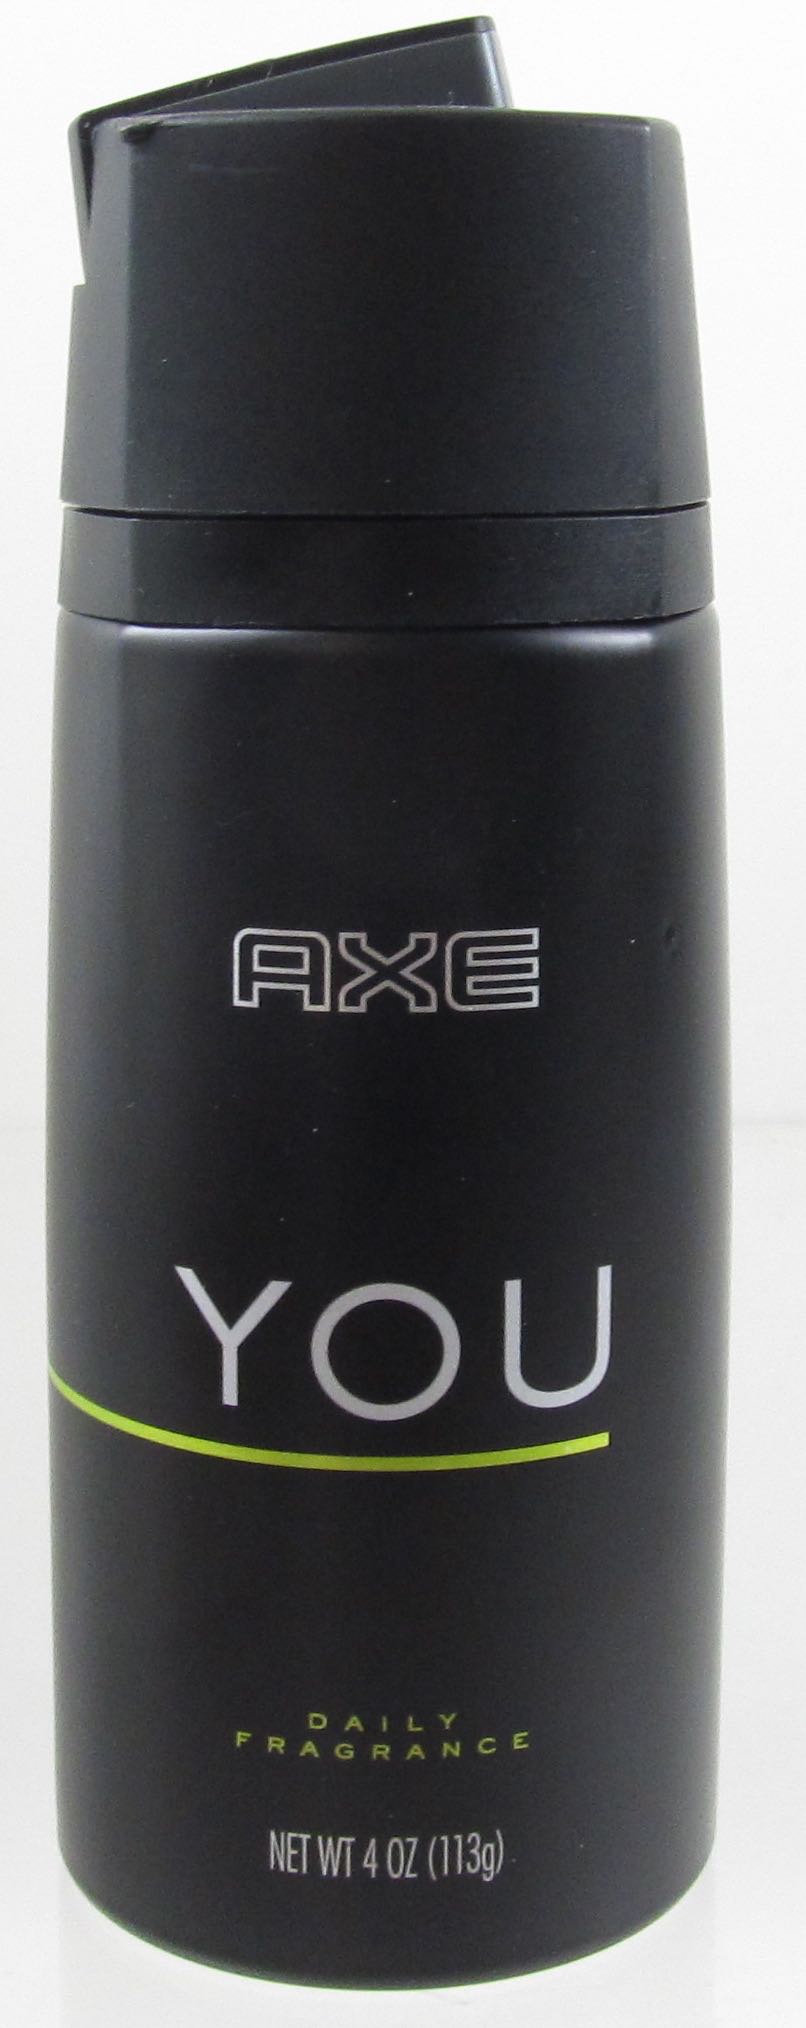  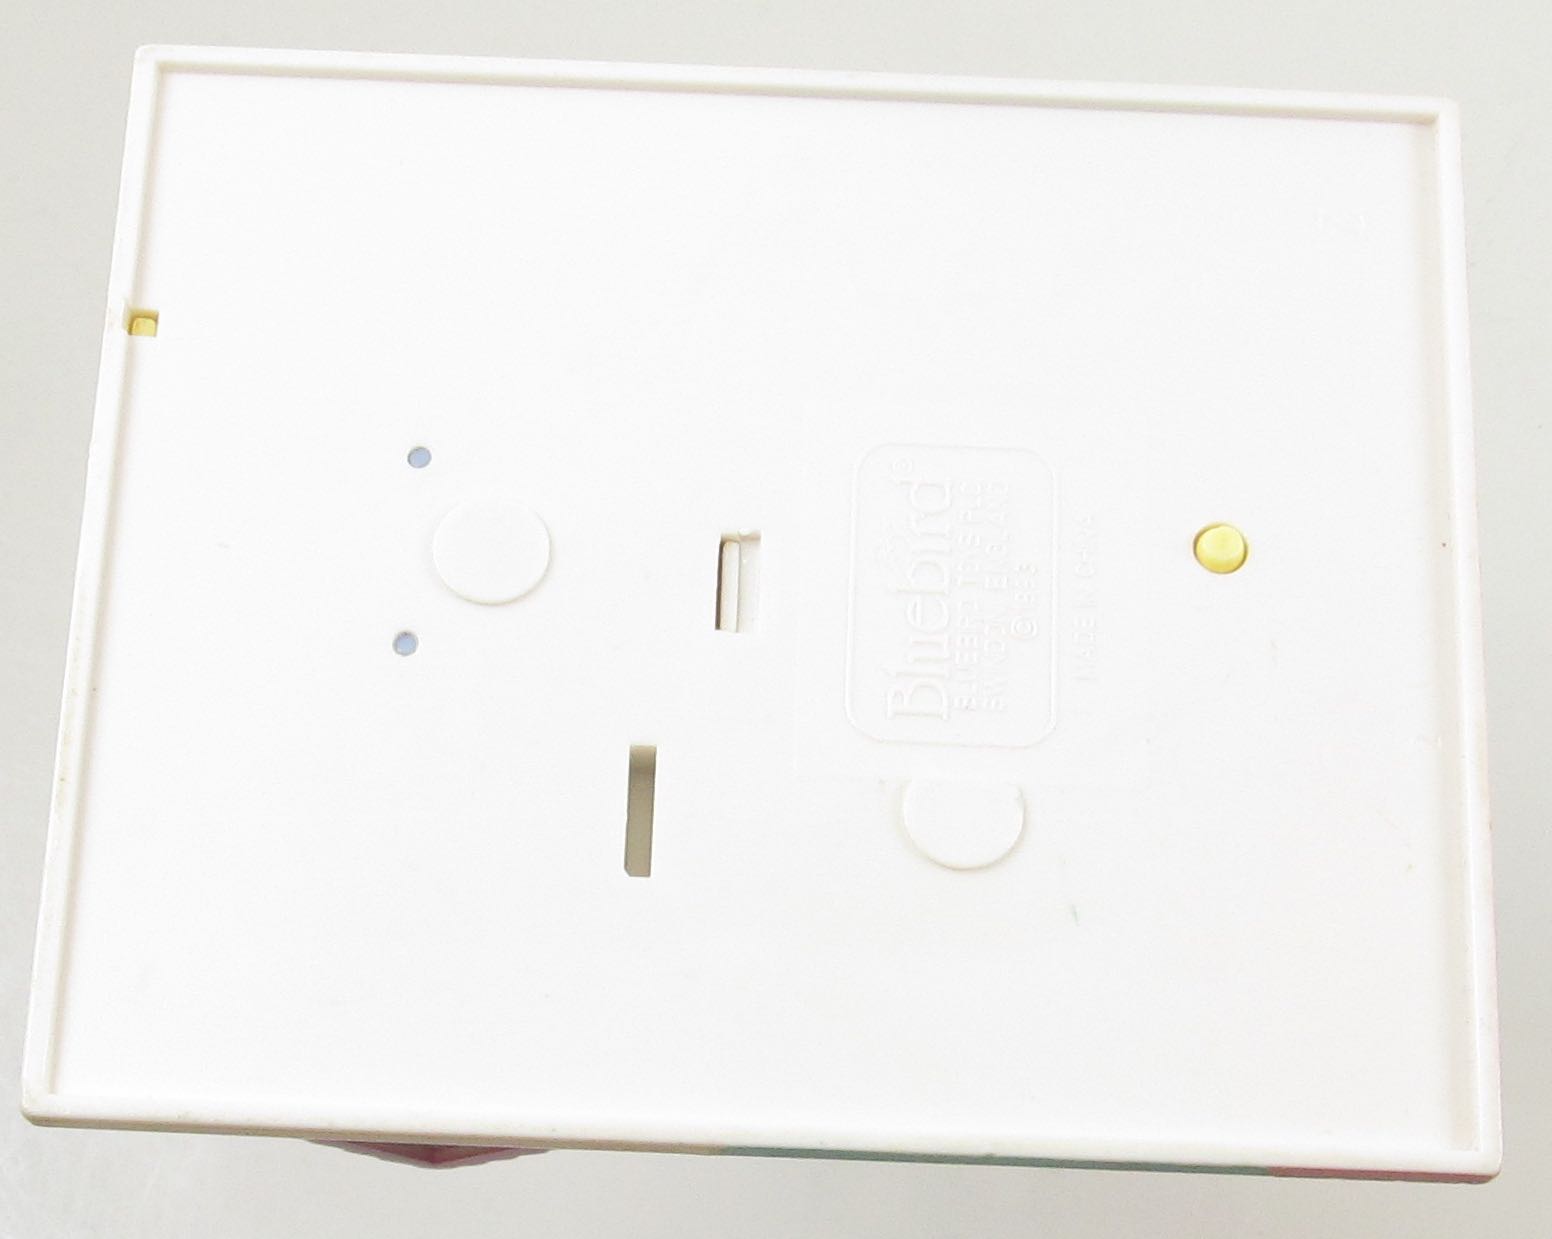
Do NOT use nail polish
remover...we tried that

|
| |
|
Care |
| |
|
|
|